Island East Building, LLC.
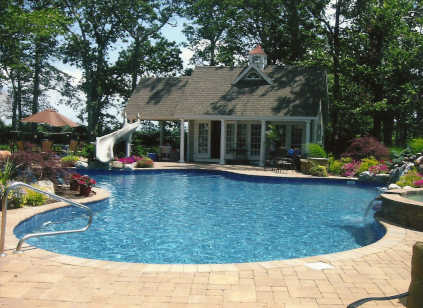
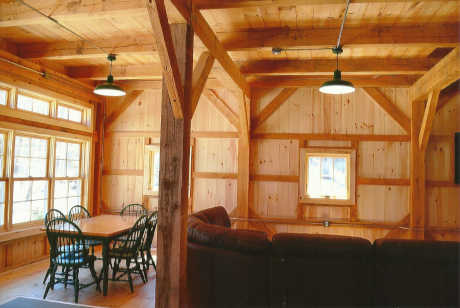
Construction of new homes, renovations, and additions

Paul and Erik Gabrielsen
Master Carpenters / Designers
Since 1976
East Hampton: (631) 324-0537
Southampton: (631) 283-0231
West Hampton: (631) 288-0213
Building from your plans or ours.
